Summer's Bounty, Year-Round Delight: Your Ultimate Guide on How to Freeze Corn
There’s an undeniable magic to biting into a crisp, juicy ear of sweet corn, fresh from the field, drenched in the sunshine of summer. But what if that delightful experience didn't have to end with the season? Imagine savoring that same vibrant flavor and tender crunch in the dead of winter, bringing a taste of summer back to your dinner table. The good news is, you absolutely can! Freezing corn is a simple, effective way to lock in its peak freshness, sweetness, and nutritional value, allowing you to enjoy this beloved vegetable long after the harvest moon.
Whether your garden is overflowing, or you've stumbled upon an incredible deal at the farmer's market, preserving corn for future enjoyment is a rewarding endeavor. This comprehensive guide will walk you through everything you need to know, from selecting the best ears to packing them perfectly for the freezer, ensuring every kernel stays as sweet and flavorful as the day it was picked. We'll explore methods for both freezing corn *on* and *off* the cob, with options for blanching (which we highly recommend for optimal quality) and even a quick raw freeze for those days when time is of the essence. Get ready to transform your summer abundance into a year-round pantry staple!
Why Freeze Corn? Preserving Flavor, Nutrients, and Your Wallet
Freezing corn isn't just about extending its shelf life; it's about capturing a moment of peak flavor and ensuring you have access to nutrient-rich vegetables even when fresh options are scarce or expensive. Here's why making the effort to freeze your corn is truly worth it:
*
Peak Flavor and Sweetness: Corn's natural sugars begin converting to starch soon after harvest. Freezing it quickly after picking halts this process, preserving that signature sweet flavor and crisp texture that makes summer corn so irresistible.
*
Nutrient Retention: While cooking can reduce some heat-sensitive nutrients, freezing largely maintains the vitamin and mineral content of fresh corn. You're locking in vitamins C and B, fiber, and antioxidants.
*
Cost Savings: Buying corn in bulk during its peak season, when prices are lowest, and then freezing it, can be significantly more economical than purchasing off-season or canned alternatives.
*
Convenience: Having pre-prepped corn in your freezer means quick additions to soups, stews, salsas, and side dishes with minimal effort. It's ready whenever you are.
*
Reduced Food Waste: Don't let excess corn go to waste. Freezing is an excellent way to handle a bountiful harvest or a great market find, ensuring every ear is enjoyed.
Essential Tools for Your Corn Freezing Mission
Before you dive into the freezing process, gather your supplies. Most items are likely already in your kitchen, but a few specialized tools can make the job much easier, especially if you're processing a large batch.
For Corn on the Cob:
*
Fresh Ears of Sweet Corn: The fresher, the better!
*
Large Stockpot: Essential for blanching the corn.
*
Large Bowl or Clean Sink: To create an ice bath for rapid cooling.
*
Tongs: For safely handling hot corn.
*
Clean Kitchen Towels: For thoroughly drying the corn.
*
Plastic Wrap (Saran Wrap): To individually wrap blanched cobs.
*
Freezer-Safe Bags: Heavy-duty bags are crucial to prevent freezer burn.
*
Vacuum Sealer and Vacuum Seal Bags (Optional, but Highly Recommended): For superior air removal, significantly extending storage life and preventing freezer burn. This is a game-changer for long-term preservation.
For Corn Off the Cob:
*
Sharp Knife, Electric Bread Knife, or Corn Stripper: For efficiently removing kernels. A corn stripper tool can make this process incredibly quick and clean.
*
Large Bowl: To catch the kernels as they are cut from the cob.
*
Cutting Board or Bundt Pan: A bundt pan is an ingenious hack—the cob stands upright in the center hole, and the kernels fall neatly into the pan's well.
*
Freezer Bags or Containers: Choose options designed for freezing.
*
Ladle or Measuring Cup: For portioning kernels into bags/containers.
*
Vacuum Sealer and Vacuum Seal Bags (Optional): Again, highly recommended for maximum freshness.
How to Freeze Corn on the Cob: Preserving Whole Ears
Freezing corn on the cob is incredibly satisfying, delivering that classic summer experience straight from your freezer. You have two main approaches: the preferred blanched method for long-term storage or a quicker raw freeze. As detailed in our comprehensive guide,
Freeze Corn: On or Off the Cob, Blanched or Raw Methods, blanching offers significant advantages.
The Blanched Method (Our Top Recommendation for Quality)
Blanching, a brief dip in boiling water followed by an immediate ice bath, is the gold standard for freezing vegetables. It deactivates enzymes that cause flavor, color, and texture degradation over time, ensuring your corn stays sweet and vibrant for up to 8-12 months. This step is crucial for maintaining the corn's integrity in the freezer. For more in-depth information on this vital technique, check out
Blanching for Success: Freeze Sweet Corn to Savor All Year.
1.
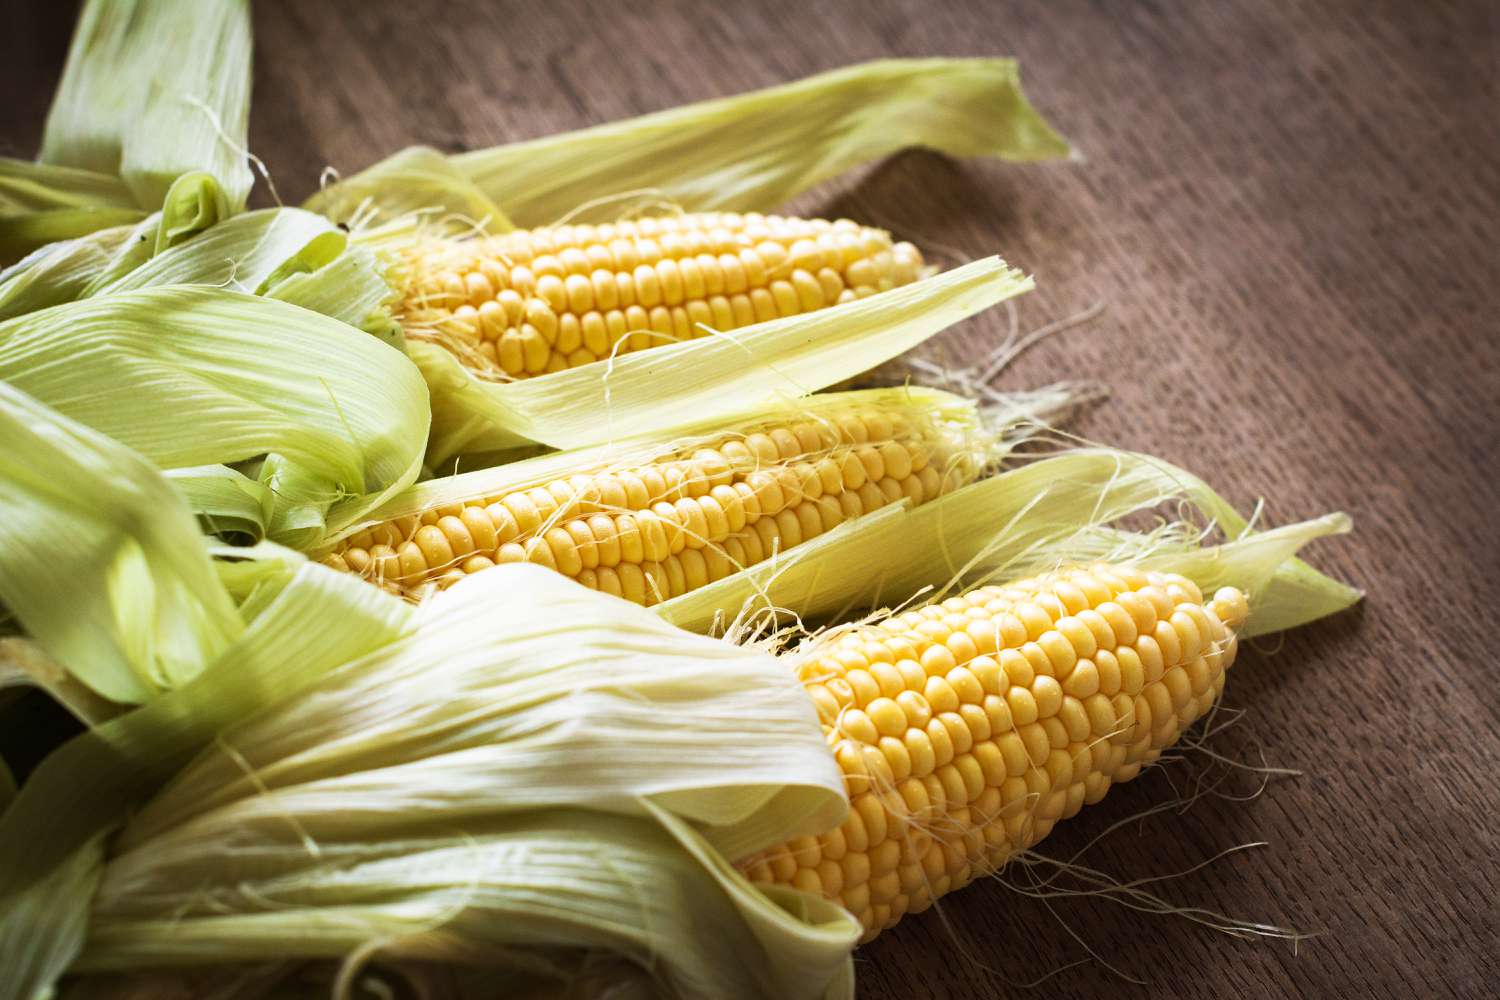
Husk and Wash Thoroughly: Remove all husks and as much silk as possible. Rinse each ear under cold running water to clean and dislodge any remaining silk strands. Inspect the corn; set aside any cobs with blemishes for cutting kernels off later, as only the best-looking ears should be frozen whole.
2.
Prepare Boiling Water: Fill your largest stockpot with water and bring it to a rolling boil.
3.
Blanch the Corn: Carefully add the prepared ears to the boiling water. Do not overcrowd the pot; work in batches if necessary to maintain a rapid boil. Boil for
exactly 1 ½ minutes. This short blanch is just enough to preserve the corn without cooking it through or softening it excessively.
4.
Rapidly Cool in an Ice Bath: Immediately transfer the hot corn from the boiling water to a sink or large bowl filled with ice-cold water. This stops the cooking process instantly. Let the corn cool completely, which usually takes as long as the blanching time.
5.
Dry Completely: Place the cooled cobs on clean kitchen towels and allow them to air dry thoroughly. Any residual moisture can lead to ice crystals and freezer burn, so patience here pays off. You can gently pat them dry as well.
6.
Wrap and Package: Once completely dry, wrap each individual ear tightly in plastic wrap (Saran Wrap) or a reusable freezer wrap. This extra layer provides an additional barrier against freezer burn. Then, place the wrapped cobs into heavy-duty freezer bags or, ideally, vacuum seal them. Remove as much air as possible from freezer bags before sealing. Label with the date.
The Raw Method (Quick Freeze for Shorter Storage)
While not recommended for long-term storage, freezing corn on the cob raw can be an option if you plan to use it within 2-3 months. Be aware that the texture may be slightly softer, and the flavor may not be as bright as blanched corn.
1.
Husk, Wash, and Dry: Prepare the corn as in the blanched method, ensuring it's completely dry.
2.
Wrap and Package: Wrap each cob individually in plastic wrap, then place into freezer bags or vacuum seal. Label and date.
How to Freeze Corn Off the Cob: Versatile Kernels for Any Recipe
Freezing corn kernels is incredibly versatile, making them perfect for adding to chili, salsa, casseroles, or simply serving as a quick side dish. You can either blanch the cobs first and then cut off the kernels, or cut the kernels raw and then flash freeze them. For best quality and longer storage, we advocate for blanching.
1.
Prepare the Corn: For optimal results, follow the blanching steps (husk, wash, boil for 1 ½ minutes, ice bath, dry) for your ears of corn. If you're opting for the raw kernel method, simply husk, wash, and dry the cobs.
2.
Cut Kernels from the Cob:
*
Method 1 (Cutting Board): Stand a cob upright on a cutting board. Using a sharp knife or electric bread knife, carefully slice downwards, stripping the kernels from the cob. Rotate the cob as you go.
*
Method 2 (Bundt Pan): Place a bundt pan on your counter. Stand the cob in the center hole. Slice downwards; the kernels will conveniently fall into the pan's well. This method significantly reduces mess.
*
Method 3 (Corn Stripper): A specialized corn stripper tool can quickly and efficiently remove kernels with minimal effort.
3.
Flash Freeze (Recommended for Raw Kernels or Preventing Clumps): If you're freezing raw kernels, or if you want blanched kernels to remain loose and not clump together in the bag, flash freezing is key. Spread the kernels in a single layer on a baking sheet lined with parchment paper. Place the sheet in the freezer for 1-2 hours until the kernels are solid.
4.
Package and Store: Once flash-frozen or simply cooled (if blanched and not flash-frozen), transfer the kernels into freezer-safe bags or containers. Portion them into amounts you're likely to use for a single meal (e.g., 1-2 cups).
*
Remove Air: Squeeze out as much air as possible from freezer bags. For vacuum sealing, ensure the bag is properly sealed for an airtight finish.
*
Label and Date: Always label your bags or containers with the contents and the date frozen.
Packaging and Storage Tips for Optimal Freshness
Proper packaging is paramount to preventing freezer burn, which can lead to dry, discolored, and flavorless corn.
*
Vacuum Sealing is King: If you have a vacuum sealer, use it! It removes virtually all air, creating an airtight seal that dramatically extends the freezer life of your corn and virtually eliminates freezer burn.
*
Heavy-Duty Freezer Bags: If using standard freezer bags, opt for the thickest, heaviest-duty variety. Remove as much air as possible by pressing it out before sealing, or use a straw to suck out the remaining air just before the final seal.
*
Containers: When using rigid freezer-safe containers, leave a little headspace (about ½ inch) for expansion, especially if freezing liquid-rich items.
*
Don't Forget to Label: This seems minor, but trust us, you’ll thank yourself later. Clearly label each package with "Corn on the Cob," "Corn Kernels," and the date it was frozen.
*
Shelf Life:
* Blanched corn (on or off the cob) stored in freezer bags: 8-12 months.
* Blanched corn (on or off the cob) vacuum-sealed: Up to 2 years.
* Raw corn (on or off the cob): Best used within 2-3 months.
Enjoying Your Frozen Corn
When you're ready to enjoy your preserved summer sweetness, cooking frozen corn is a breeze:
*
Frozen Corn on the Cob: You can boil, steam, grill, or even roast frozen cobs. Simply add them directly to boiling water for 5-7 minutes, steam for 8-10 minutes, or thaw slightly before grilling/roasting.
*
Frozen Corn Kernels: Add them directly to stir-fries, soups, stews, or sauté them in a pan with a little butter until heated through. They thaw and cook quickly. No need to defrost them first for most applications!
Conclusion
Freezing corn is a simple, effective, and incredibly rewarding way to extend the bounty of summer and ensure you have access to fresh-tasting, nutrient-packed sweet corn all year long. By following these straightforward steps, whether you choose to keep it on the cob or strip the kernels, and particularly by taking the time to blanch, you'll be well-equipped to capture that fleeting summer sweetness. So, the next time you find yourself with an abundance of this golden delight, don't hesitate to pull out your gear and get freezing. Your future self (and your taste buds) will thank you for that taste of sunshine in every bite, no matter the season.